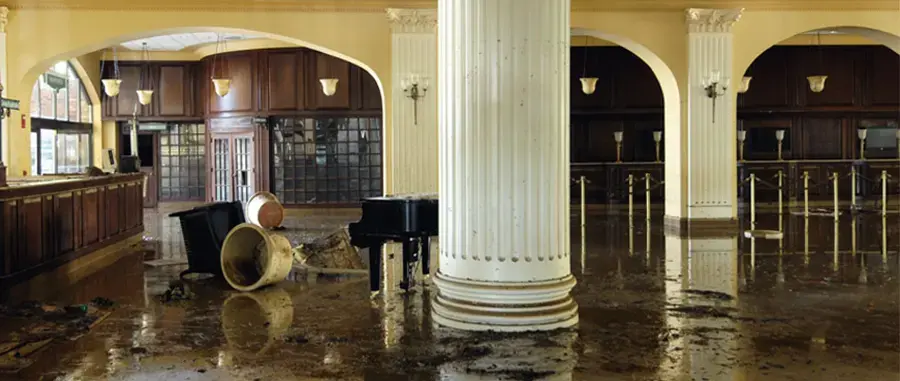
Eighteenth and nineteenth century brick row homes and Federal townhouses near The Strand were built with materials that behave very differently from modern drywall. When water gets in, the first steps decide how much original plaster, floor and brick can be kept.
Key takeaways
- Plaster on lath, old growth wood floors and brick cellars all dry slowly, and rushing them can cause more harm than the water did.
- Shutting off the water and stopping the source comes first, especially where supply runs have been patched over the years.
- Photographs taken before anything is moved protect both the claim and the historic features.
- Heavy demolition is a last resort; moisture readings show what truly needs to come out.
- A slower, steadier drying plan protects plaster finishes, wood floors and masonry joints.
Why older New Castle homes need a different approach
The New Castle Historic District is full of brick row homes and Federal townhouses from the eighteenth and nineteenth centuries. They stand near the waterfront at The Strand and Battery Park.
Their walls are often plaster on lath, their floors are old growth wood, and their cellars are brick. Each of these holds water in its own way and releases it at its own pace.
Plumbing in homes this age has often been repaired in stages. Old cellar drains and patched supply runs are common, and they are frequent places for a leak to start or a backup to appear.
Humid summers, nor'easters and winter cold snaps all add stress. A cold snap can split a pipe in an exterior wall, and a tropical storm remnant can push rain into a cellar that has handled water for generations.
- Plaster on lath: a thick, layered wall that can swell, crack or lose its bond to the lath when wet.
- Old growth wood floors: dense boards that can cup or gap if they dry too quickly or too unevenly.
- Brick cellars: porous masonry that wicks groundwater and keeps moisture long after the surface is dry.
- Patched pipes and drains: mixed materials and old joints that fail without much warning.
The first decisions, in order
The goal on day one is to stop the water, protect what can be saved and avoid making the damage bigger. A calm, ordered response works better than a rush to tear things out.
Before anyone starts removing anything, a few steps keep the loss from growing.
Stop the source and make it safe
Shut off the water at the main valve or at the fixture if the leak is from a supply pipe. If water is near outlets or the panel, power to that area should be turned off from a dry spot.
If the water came from a drain or a backup, treat it as contaminated and stay out of it.
- Close the main valve for a supply pipe leak.
- Switch off power only from a dry location.
- Keep contaminated water away from hands, food and children.
Document and protect
Photograph the ceiling, walls, floors and cellar before moving a single thing. Short video helps show how far the water went.
Move rugs, books and small furniture to dry rooms, and lift antiques off wet floors onto blocks.
Plaster on lath: saving it when possible
Plaster is not drywall. It is applied in layers over thin wood strips, and its strength comes from the keys that grip the lath behind it.
A ceiling that is wet but still firm can often be dried in place with controlled airflow and dehumidification. A ceiling that is sagging, bulging or soft is a safety concern and may need to be opened or removed so it does not fall.
Moisture readings tell the difference, so the decision is based on measurements. Cutting plaster out too early destroys a finish that is expensive and difficult to match.
Ceilings below a bathroom or a kitchen deserve special care. A slow leak can soak the plaster for days before a stain shows, and the weight of trapped water is what makes a ceiling sag.
- Firm plaster with a stable surface can often be dried in place.
- A visible bulge or a sag signals that the bond to the lath has failed.
- Opening a small inspection area can show what is happening in the cavity behind.
- Plaster that has been wet for a long time or soaked by contaminated water is usually removed.
Old growth floors and brick cellars
Old growth boards are dense and often wide, and they react to water by cupping at the edges. The aim is to dry them steadily so they flatten back toward their natural shape.
Heat blasts or fast fans can split boards or open gaps. A steady, measured airflow with dehumidification is gentler and often saves floors that would otherwise be replaced.
Brick cellars add another layer. Masonry can hold groundwater, and a cellar that floods may take longer to dry than the rooms above it, with white mineral deposits left on the brick as the water leaves.
The historic home water damage page explains how crews work with these materials.
- Lift rugs and coverings so boards can breathe from above.
- Keep a steady, moderate drying pace instead of a rush of heat.
- Check cellar drains for blockage if water is entering from below.
- Expect brick and mortar to need extra time to reach a dry reading.
Drying the whole building, not just the wet room
Row homes share walls and floor systems, so water can travel farther than it first appears. A leak in an upstairs bath can wet a ceiling below, a wall cavity and the joists in between.
Structural drying follows that moisture through the building with readings at several points, and equipment is placed to reach hidden bays. The structural drying page describes the process, which follows the IICRC S500 standard.
A crew sets air movers and dehumidifiers, logs readings at each visit and moves equipment as the wet areas shrink. The work finishes when the readings match a dry reference, not when the surface feels dry.
Getting the water out in the first place
Standing water in a cellar or on a floor has to leave before drying can start. The water extraction service pulls the water out with pumps and vacuums sized for the space.
Older cellars sometimes have narrow stairs and low headroom, so equipment is chosen to fit the access rather than the other way around.
Insurance adjusters and the household both benefit from a written drying log that shows readings, equipment and dates. Keeping those records together makes a claim cleaner.
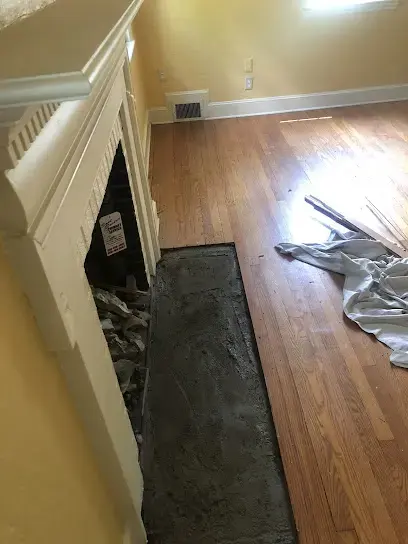
A crew also keeps the building's character in mind. Trim, mantels, stair parts and original doors are protected during the work and moved only when needed.
Questions
Can original plaster be saved after a leak?
Often yes, if it is still firm and attached to the lath. Moisture readings and a careful look at the surface show whether it can be dried in place.
Why do old growth floors cup after water exposure?
The boards absorb water unevenly, so the edges swell faster than the middle. Slow, steady drying helps them settle back toward flat.
Is a wet brick cellar a problem for the rooms above?
It can be, because brick holds water and slowly gives off moisture. Drying the cellar along with the floors above prevents damp air from spreading.
Who should be called first after a leak in an older row home?
The water should be shut off first, then photographs taken, then a restoration crew called to extract and measure. A plumber handles the repair of the pipe itself.
Does drying a historic home take longer than a newer one?
Often it does, because plaster, masonry and old growth wood release moisture slowly. The plan follows readings instead of a fixed schedule.